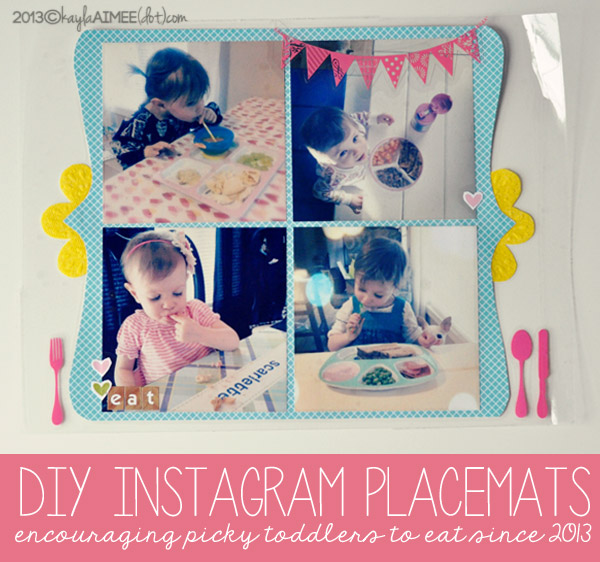
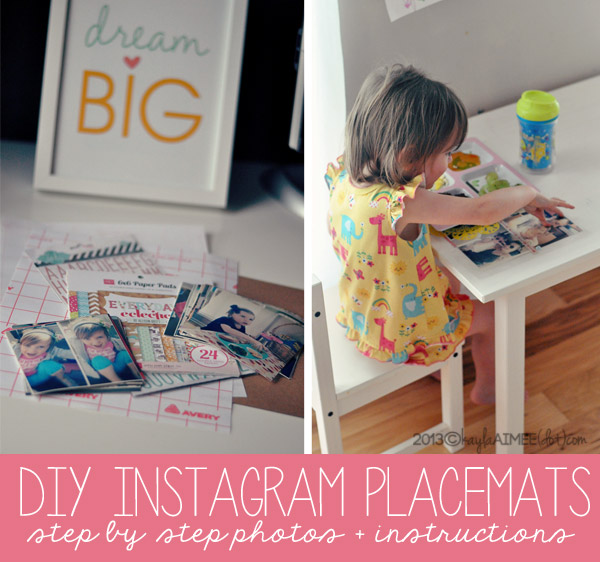
Because Scarlette has struggled with oral aversions for a long time (you can read more about that here) we are always looking for new ways to encourage her to actually EAT her food as opposed to spitting it out (or feeding it to Lucy Dog or secretly hiding it in the curtain) so when Collective Bias® asked me to print instagram photos at Walgreens and create a craft for a sponsored post I decided to make some DIY placemats. Specifically, to make some placemats featuring her favorite foods and photos of her eating said food, an occasion so rare that apparently I immediately immortalize it on instagram.
I ended up making a set of 5 placemats for her featuring FOOD, FAMILY, FRIENDS, FUN and FARM because those seemed like things that would entertain a toddler during mealtime and I happened to have photos of all of those things and I like alliteration.
(Click READ MORE for more photos + step by step instructions)
(And also I was all “of course I want to make a craft project out of my instagram photos! Have you seen my instagram photos? It’s basically ONLY CUTE PICTURES OF MY KID. Who DOESN’T want to make a craft project out of my instagram photos, that’s the real question here.)
(*Don’t actually make a craft project using my instagram photos, that’s slightly creepy. Use your instagram photos, that’s awesome. Awesome is better than creepy.)
So here is what I did:
How To Make Instagram Placements Like A Boss
I don’t actually even know what “like a boss” means, but I just turned thirty and I’m trying to stay relevant, y’all.
First, you’ll need to print your instagram photos. I mean, that’s basically the most important part. So you’ll need this information:
How To Print Your Instagram Photos
First, download the #WalgreensApp on your smartphone. I have an android so I just downloaded mine for free from the Google Play store.You’ll have to link the app to your instagram account and then you can scroll through all of your instagram photos and put a check mark next to the ones you want so that you can print photos from your phone.
Then you choose the Walgreens location you want to pick the prints up at and confirm your order! I actually googled a couple code and saved about $9 on my order. I know y’all are shocked that I would do that 🙂 You can see the whole process here. I order all of my prints from our local Walgreens anyhow so this was pretty convenient for me. Plus, one hour prints appeals to me because I am a procrastinator.
(Unless you are someone who wants to hire me, in which case I totally meant PROFESSIONAL and not at all a procrastinator.)
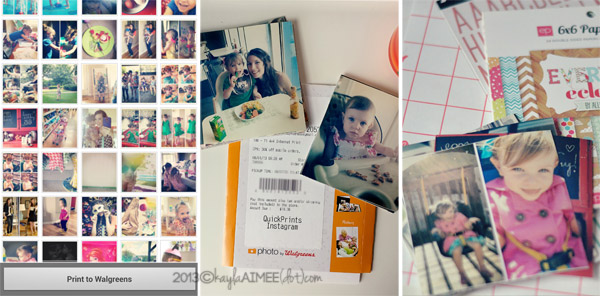
I ordered 71 4×4 instagram photos and paid less than $20 so that was pretty awesome.
(I may have gone overboard here but seriously, LOOK HOW CUTE MY KID IS. I mean, it was really hard for me to narrow it down, y’all!)
Next, you’ll need some self-laminating sheets. If you have a laminator, you can use that because, well, that’s just good sense. But for those of us without a laminating machine the 8.5×11 self-laminating sheets work great.
You could just keep it super simple and stick to those two supplies or if you want to get fancy you can add some patterned paper and stickers and other embellishments. I just happened to have some scrapbooking supplies lying around on account of how I am a scrapbooker and also a hoarder.
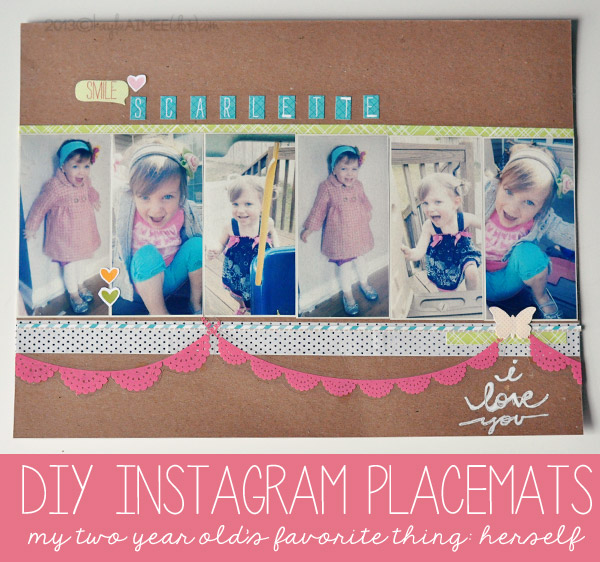
For extra-sturdy placemats you can use a thick piece of cardstock as your background and then laminate the entire thing, like this one:
But if you want to make the clear, see-through version like this:
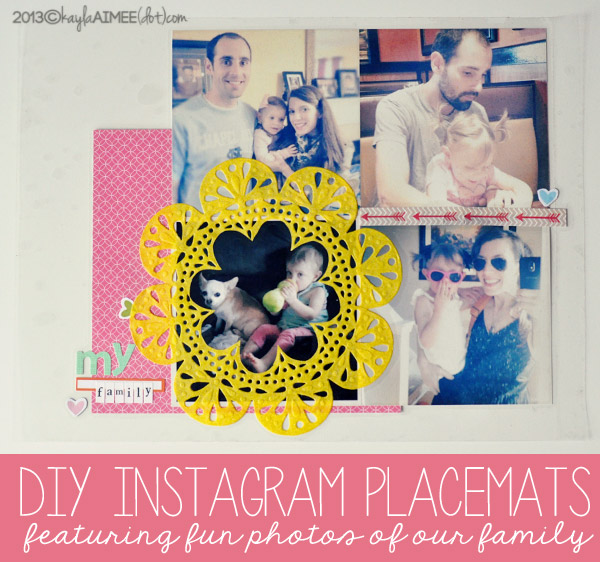
then you just place all of your pieces directly on the laminating sheet.
Here’s a little tip: I like to lay everything out to see how it looks before I adhere anything down. So once it’s all how I want it, I quickly snap a photo with my phone so that I know where everything goes when I re-position it all.
Peel the backing off of one of the laminating sheets and lay it face down (sticky side up) and then begin adhering all of your photos and any embellishments to sticky side. Then you just lay another laminating sheet (this time sticky side down) on top of it, lining up the edges.
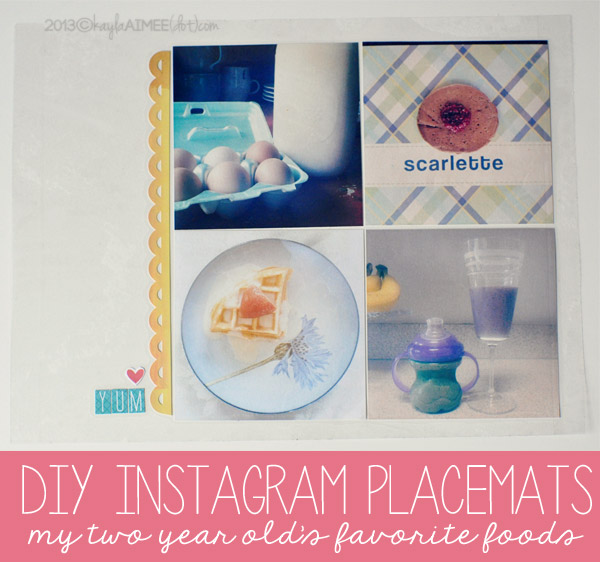
Honestly, this is a super easy project. Lining up the edges is seriously the trickiest part.
But it is a lot of fun. And toddler approved, obviously.
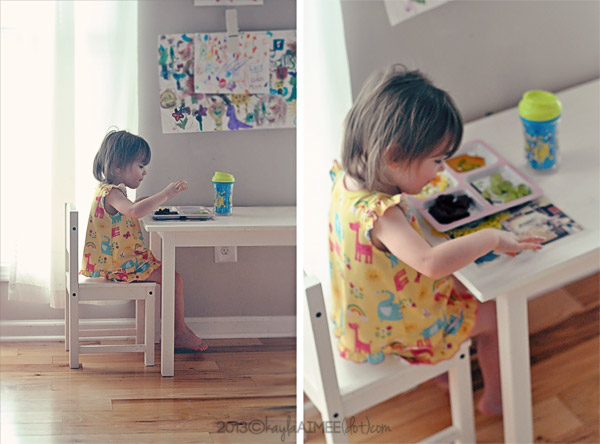
I think Scarlette likes the little bit of extra personalization that the instagram photos provide (“I SHEE DADDY! I SHEE MOMMY!”) and I like looking at cute pictures of my baby girl when I’m wiping sweet potatoes up for the bazillionth time each afternoon.
(Sweet potatoes? The food that dries to stuff like cement and is impossible to remove? Those she eats.)
This is a great craft for older kids because you could let them decorate them however they like. My two year old’s version of helping me make these consisted of running off with my instagram photos yelling “NO! DAT MY PITSHURE OF DA DOGGIE!” so there’s that.

