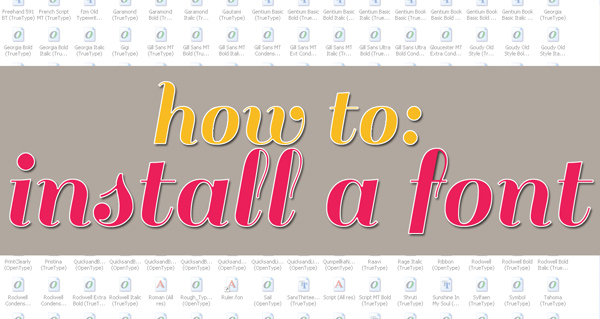
Here is a quick tutorial on how to install all of those cute, free fonts you’ve downloaded to your computer!
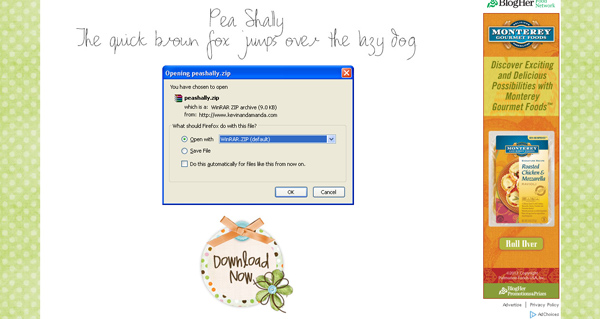
STEP ONE | Click on the font that you want to download and then click OK in the dialog box to open with the default program

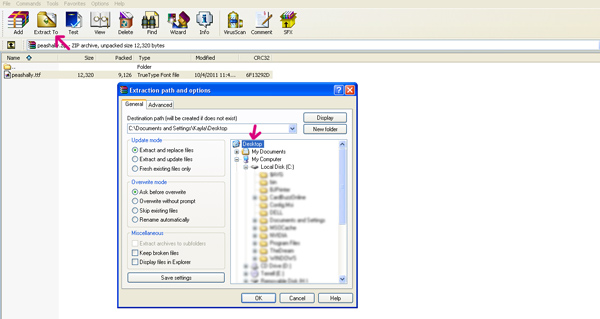
STEP TWO | It will automatically open a new window. Click on the EXTRACT button and then choose where you want the file to open in the drop down menu (I typically choose DESKTOP) and click OK

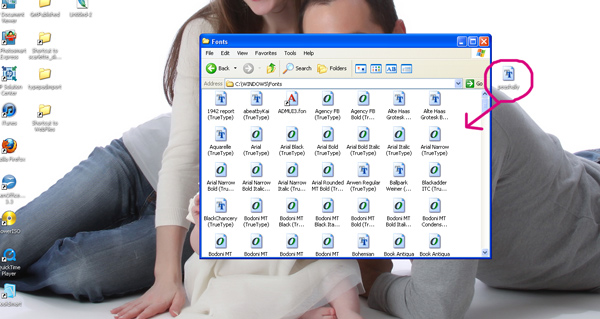
STEP THREE | Go to your desktop where you’ll see the file. Now open up your FONTS folder by going to CONTROL PANEL > FONTS or C: > WINDOWS >FONTS. Click on the font that you just downloaded to your desktop and drag it into your fonts folder. VOILA! You just installed a font! Now you can use it in your word and photo editing programs!

Want to install a font on a MAC? It’s easy too. Just follow the same steps as above only you’ll find your fonts folder by going to: Macintosh HD > Library > Fonts. Just drag and drop your font there!
Click HERE to preview and download 18 of my favorite free fonts. And since I’m a *bit* font obsessed, you can click HERE to download and preview another 15 of my favorite free fonts. Enjoy!
* The font used in this example is a freebie called “Pea Shelly“


