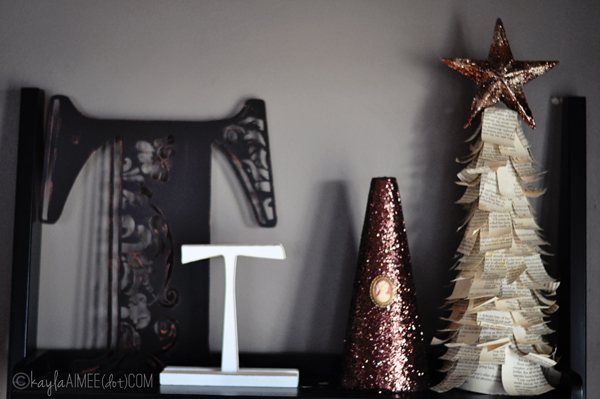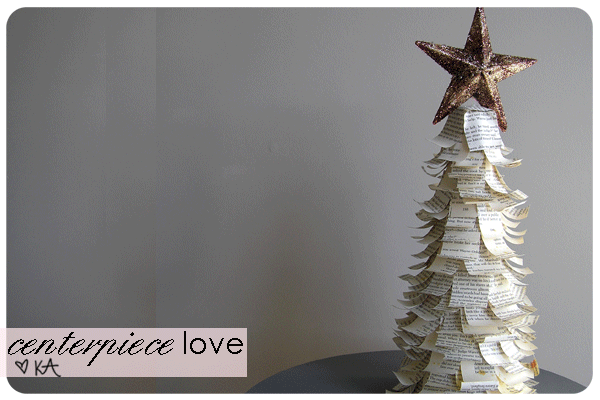
One of the most popular tutorials on this blog are my paperback Christmas trees. And inevitably when this time of year rolls around I get a lot of requests for a tutorial on the rolled paper tree that is shown in the photo. I included the instructions for that tree in a class I taught a few years ago so until now I haven’t made it available publically. But since I no longer teach it, I decided to post it here for those of y’all who asked!
This is one of my favorite projects. I will warn you, it is not a quick project but it is easy and cute. I made these three years ago and with proper storage they are still holding up really well- I put them out every holiday season! Forgive my photo quality, this project was made way before I had my fancy camera.
Here are the supplies you’ll need to make the tree:
One styrofoam or floral foam cone shape
One paper back book (you could also use patterned scrapbook paper for a colorful version)
Straight pins or brads
Dry adhesive (I use Glue Dots or Terrifically Tacky Tape for this project)
Glue
A pencil
Glimmer mist or glitter spray (optional)
Here is what you will need to make the star:
Wooden star OR paper star as shown in the How To Make A 5 Point Paper Star video
White glue (I am using the Martha Stewart Glitter Glue w/Brush because it’s AMAZING)
Glitter (I am using a mixture of Martha Stewart TINSEL glitter in Brownstone and FINE glitter in Smoky Quartz)
Paper Sealer
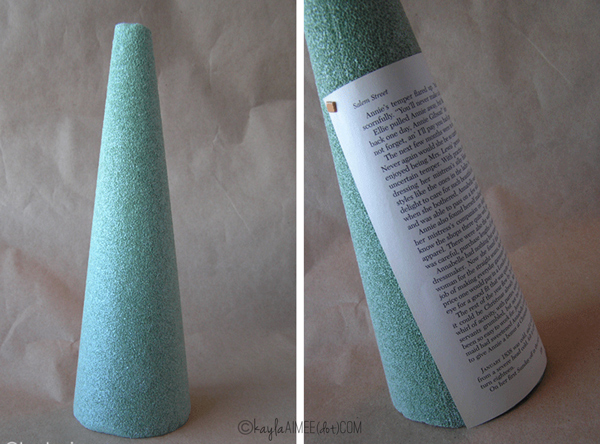
STEP ONE: Start with a cone shape like this one. Using straight pins, attach book pages to the form, wrapping them to take the shape of the form. It’s okay for them to overlap messily, this step is just so that you don’t see any foam peeking through. Also, you’ll notice that I used brads instead of straight pins. That’s because I own 2,485 brads that were just taking up space in my scrapbook room. They work just as well as straight pins and since I had more brads than straight pins, using them up meant I didn’t have to spend extra money buying straight pins and I de-stashed a bit.
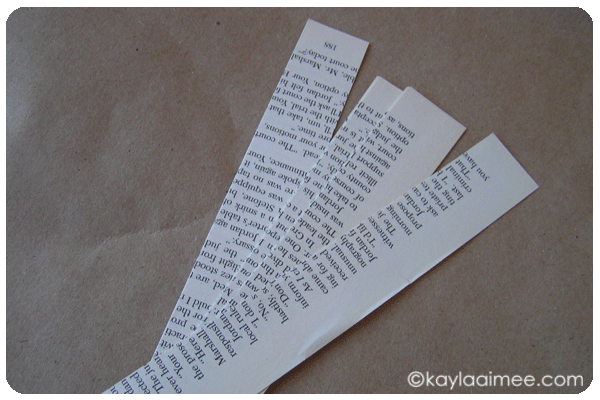
STEP TWO: Cut some book pages or pretty scrapbook paper into one to one and a half inch vertical strips. You can choose the size of your strips, just know that the smaller you cut them, the longer this project will take (trust me on this, y’all!) You don’t have to use book pages, you could use sheet music or some fun, holiday themed patterned paper. Just make sure that whatever paper you use is double sided.
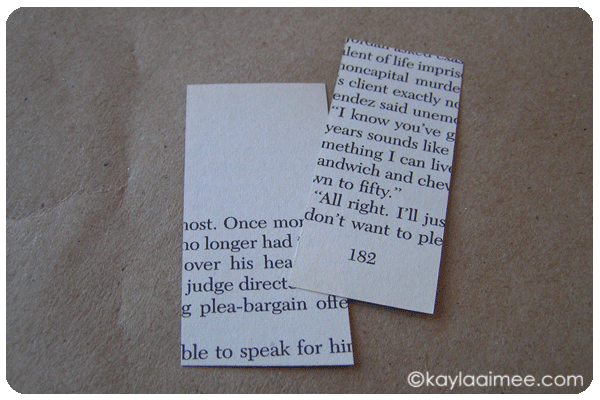
STEP THREE: Cut the strips horizontally. You can choose your length here also. I didn’t measure, I just cut the vertical strips into thirds.
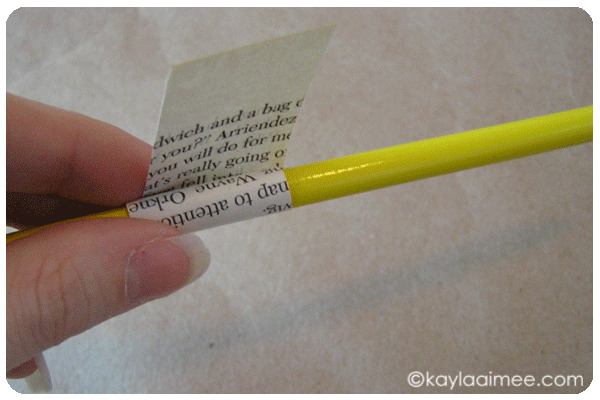
STEP FOUR: Starting at the bottom of your piece of paper, roll the end of the paper around the pencil. You want to make at least one full roll and then go about another half roll after that. If you want really curly trees, make tighter rolls, rolling around the pencil at least twice. You can roll about two pieces of paper at a time, any more than that and the curl doesn’t take. Trust me on this.
If you want very tight curls that look a bit loopy, lightly mist your paper with water from a spray bottle before rolling. Another fun idea would be to brush the edge of each rolled piece of paper with glue and then dip in glitter so that just the edges sparkle. I want to try this but my husband has currently placed a moratorium on my excessive use of glitter 😉
Pay attention to the text on your strips, you want all of your text facing the same direction so don’t accidentally roll any backwards or upside down. Learn from me, Grasshoppers.
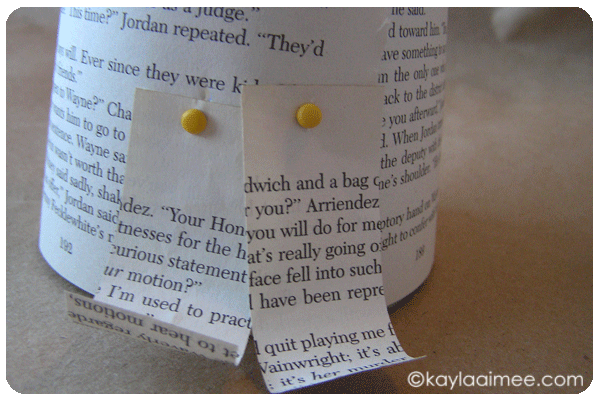
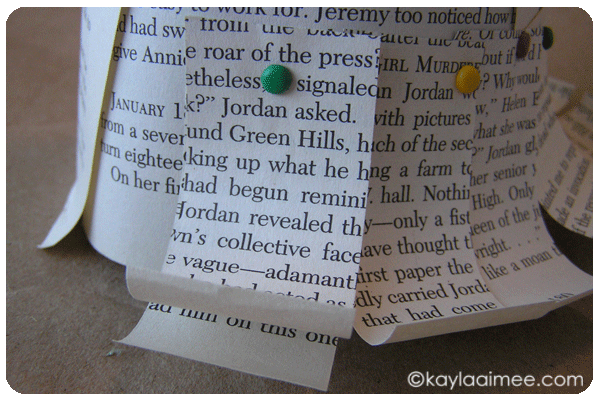
STEP FIVE: Using a straight pin or brad or dry adhesive, attach the top of the strip to the base of the form. You’ll want to pin the pieces to the form in a circular pattern, starting at the wider part of the base and working your way up. It’s important to vary each piece slightly in height so that it doesn’t look too uniform. Also, be sure to overlap each piece slightly.
Don’t worry about the fact that you can see the brads/pins right now. You’re going to place the next layer over top of it, so that it hides the brads. When layering, place the new piece so that it falls between halfway and a quarter of the way over the piece below it. This will hide the brad AND help the tree look fuller.
Also, occasionally pin two pieces of paper with one brad, to create more texture and break up the look a little, as shown below.
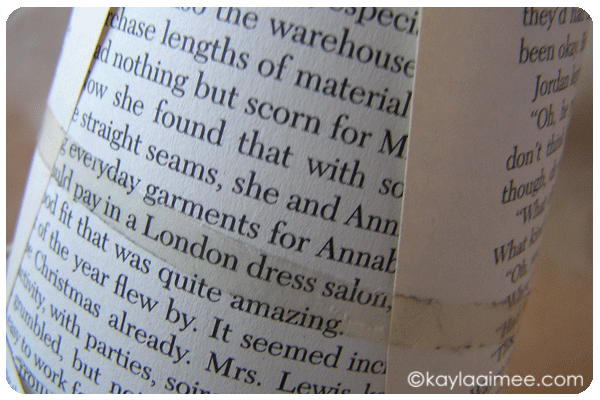
STEP SIX: After you’ve worked your way to the about an inch or so from top of the tree, use dry adhesive or double sided tape to create a circle around the top of the tree.
This is where you will press your final circle of curled papers, so that there are no brads showing at the top!
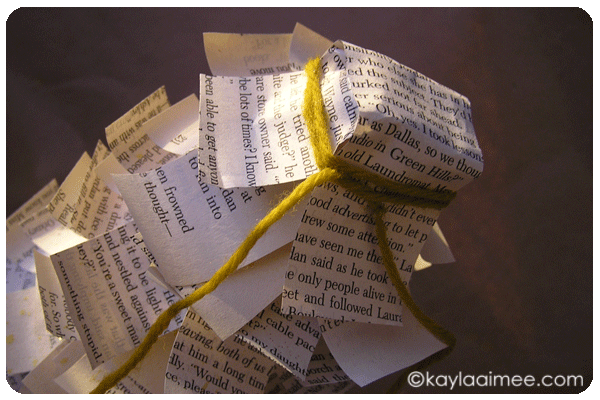
STEP SEVEN: For the very top of the tree, take one full strip of paper and cut it in half. Roll each end of the resulting strip. Lay one strip over the other so that it looks like a plus sign (+). Put some glue on the top of the form and about a quarter of an inch from the top of the form. Lay the strips (still holding them like a plus sign) over the top of the form. At this point, I use some string to tie around the top of the form. This will hold those final two strips of paper in place until they dry, like in the photo below.
STEP EIGHT (OPTIONAL): Spray the tree lightly with Glimmer Mist or glitter spray!
Now let’s make a star for the top of the tree:
You can use a purchased wooden star OR you can make a star from paper, just watch this video for instructions on how to make a 5 point paper star. If you make the paper star, be sure to spray it with a paper sealer so that it hardens.
Brush white glue liberally all over the star. Dip the star in glitter. I mixed together the Martha Stewart glitter mentioned above because the tinsel glitter gives it a festive look.
If you use a wooden star, you’ll need to glue it to a small stick and push that stick into the center of the top of the form. I used the paper star because then you can push a pin through the back of the star on each of the bottom points to attach it to the form with no visible seam!
Fun right? Okay so yeah, my fingers hurt. But such cute trees! And a great way to use up tattered old books. Here is a picture of it in my house this year, three years after I made it- you can see that it has held up pretty well, I just need to give it a little facelift and re-roll a few pieces!
