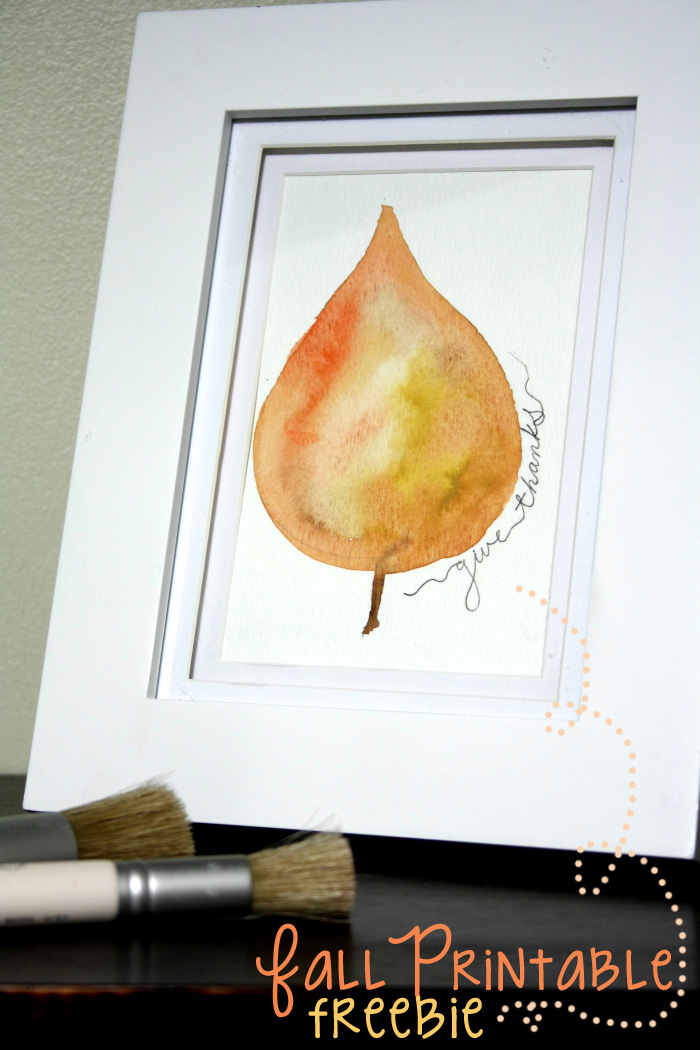
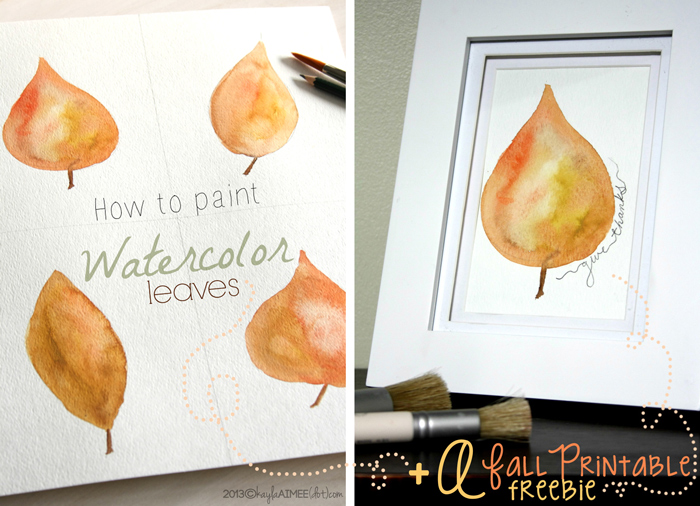
 Watercolor is really trending in the art scene right now, and I’m here to show you just how easy it is to make your own watercolor art! Even if you have never picked up a paint brush before, painting a simple shape is as easy as can be. Since it’s fall, I’m going to show you how to create some wonderful framed fall leaves art for your home using watercolors.
Supplies needed:
- Good quality cold press watercolor paper
- Watercolor paint
- Good quality round paintbrush ( I used a size 12)
- Pencil
- Water jars
- paper towel
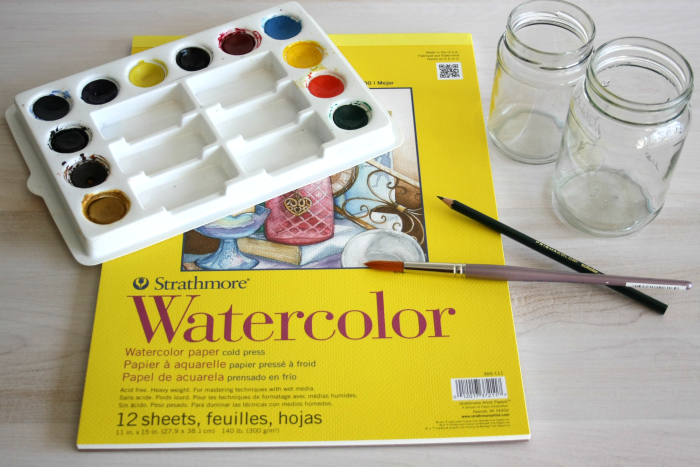 You can find the Watercolor Paper at your local craft or art supply store. As far as the watercolor paints go, don’t use your childs set, but dont break the bank buying the top of the line paints either. I used my old set of paints from my college days. You dont have to buy the entire set as you can also buy your individual paint in tubes. Pick 3 colors to paint with. Since we are doing leaves, I chose a red, yellow umber, and a brown.
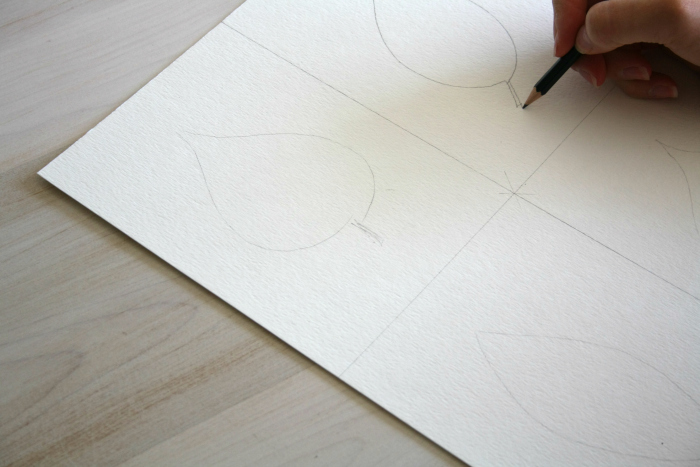 First thing do do is decide what size picture you want to paint. My paper is 11 x 15, so I divided it into 4 to draw 4 leaves to fit 5×7 frames. This way I can choose my favorite leaf to frame, or if I like them all, I can frame them all and create a nice series of paintings. Lightly sketch a simple leaf pattern in each square. If you can draw a curved line, you can draw a leaf! Look at a real leaf for inspiration if you need to. Once you are done your simple sketches, it’s time to paint.
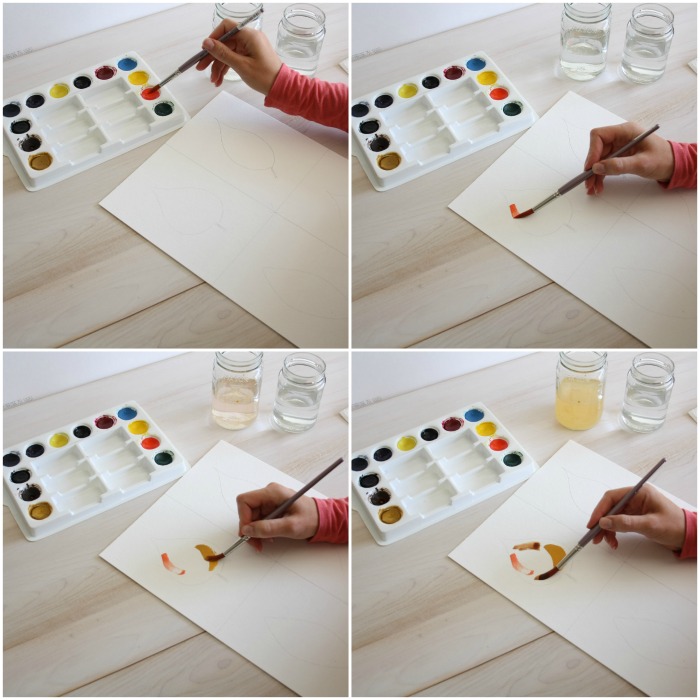 Fill up 2 jars with water. One jar is used for cleaning your brush, the other to wet it. Wet your brush and load it up with your first color. Add a dollop of paint somewhere inside your leaf drawing. It can be in the center, on the edge, wherever! Clean your brush and repeat with the other two colors. Now its time to blend the colors together.
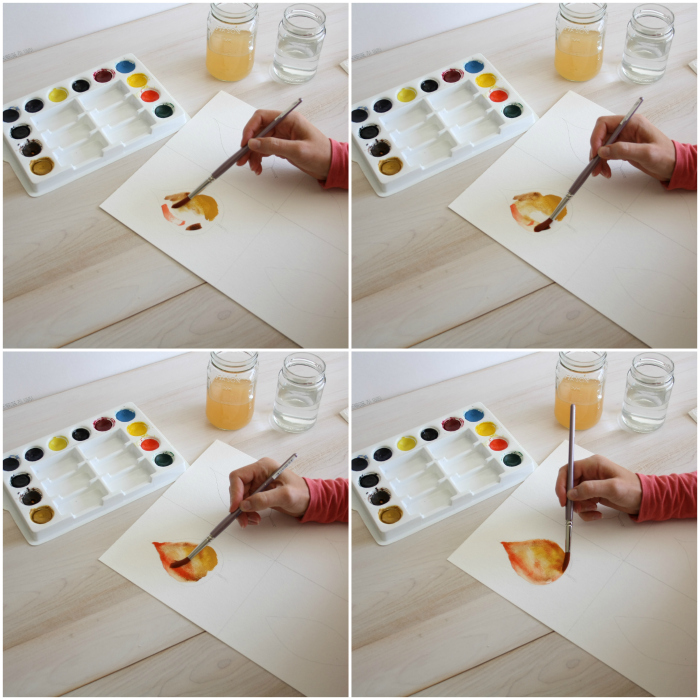 Thoroughly wet your clean brush with the clean water, and while the paint is still wet on your paper, start blending the colors together and pushing the paint towards the edges of the leaf. You will notice the paint will blend and move very easily when it’s wet. Don’t worry about painting a perfect edge either. nature has rough edges, so your painting can too! Add a touch more color if needed. I added a touch more of the red here. Paint in the stem and you’re done! Don’t over think this step! Once the colors are blended together and your leaf shape is filled in, step away, let it dry and allow the watercolors work their magic.
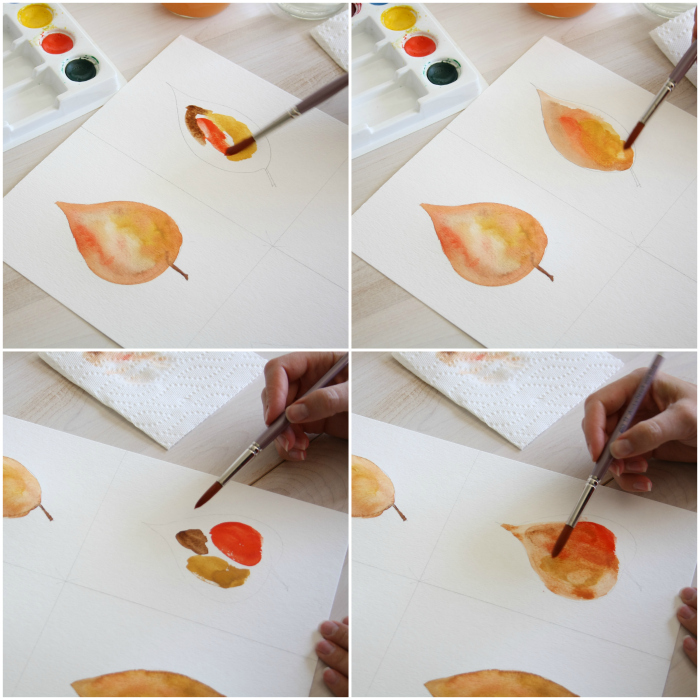
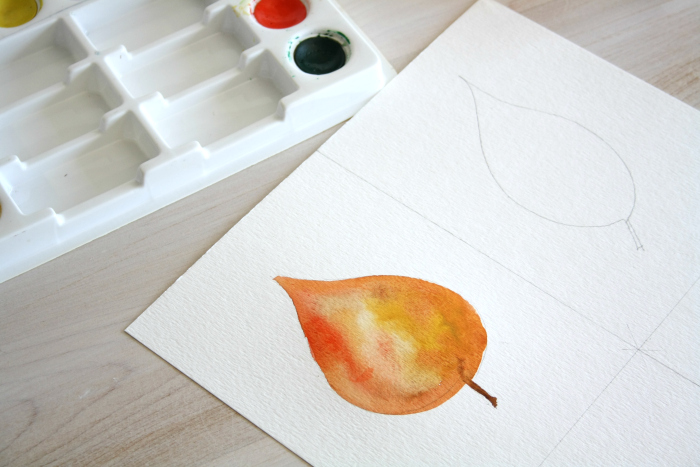 Experiment with the other leafs. Add more red to one, more yellow to another. The beauty about painting with watercolors is its prettier when its not perfect! And if you mess up, simply wet the paint and dab it up with a paper towel. It’s so forgiving.
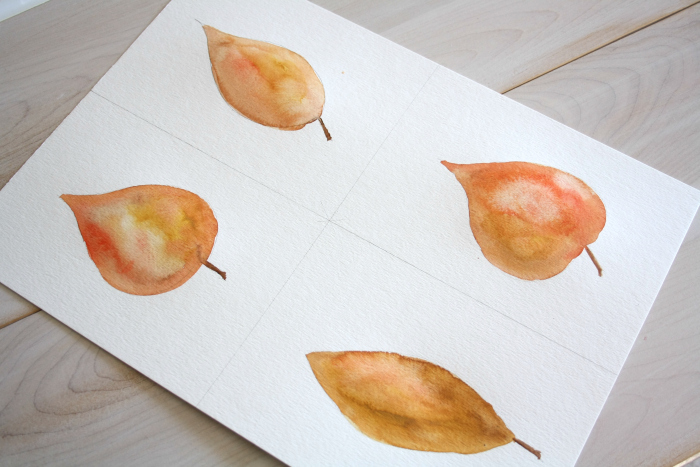
When the paint is completely dry, erase any pencil marks. Pick your favorite leaf and frame it, or, if you love them all, frame them all! I chose to frame my favorite and add a little writing with a fine tipped pen. Now I have the perfect art to display for the fall season.
A note from KA: If you want to print out the artwork below to use in your home, Sarah graciously agreed to make it available as a printable! Just click here to be taken to the download!

