This post is part of a social shopper marketing insight campaign with Pollinate Media Group® and Newell Rubbermaid, but all my opinions are my own. #pmedia #HomeFreeLowes http://my-disclosur.es/OBsstV
It’s been almost two years since I embarked on making over my entire wardrobe (here’s a little bit about how I did it) and Y’ALL. I HAVE FINALLY COMPLETED THE OVERHAUL.
It took a really long time because it is kind of expensive to rebuild your entire wardrobe. Which I was doing basically from scratch on account of how I had been hoarding clothes from high school and I am thirty years old. It was a problem.
So since I’m in the Post-New-Year’s-Organize-Everything-Phase I decided to give our closet a Pinterest style makeover.
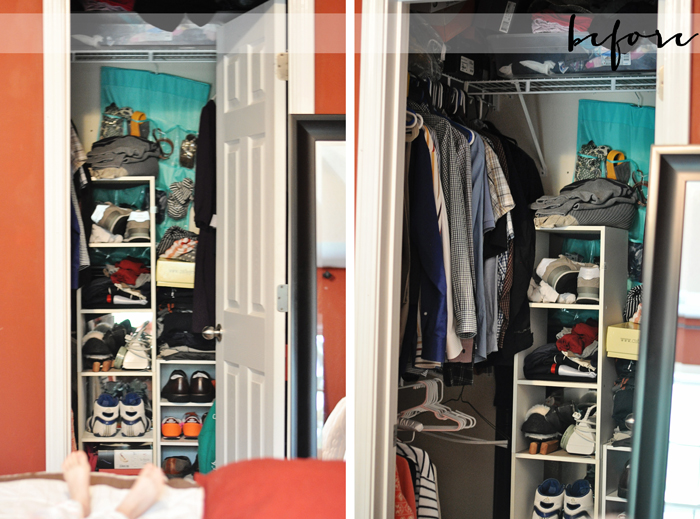
Our bedroom closet is a bit of a disaster, and I don’t just mean these before pictures. I mean that the way it is configured is super awkward. Even the placement of the door is weird, we literally have to squeeze into the back of the closet and close the door to access anything on the back right wall. And with just four standard wire shelves it was a really terrible use of the space.
So this weekend I pulled out all of the old closet shelving on the left and back wall and replaced it with the Rubbermaid HomeFree Closet System. And when I say “I” I mean me, by myself while J entertained Scarlette because her helpfulness ran out kind of early in the process and because I really enjoy being handy.
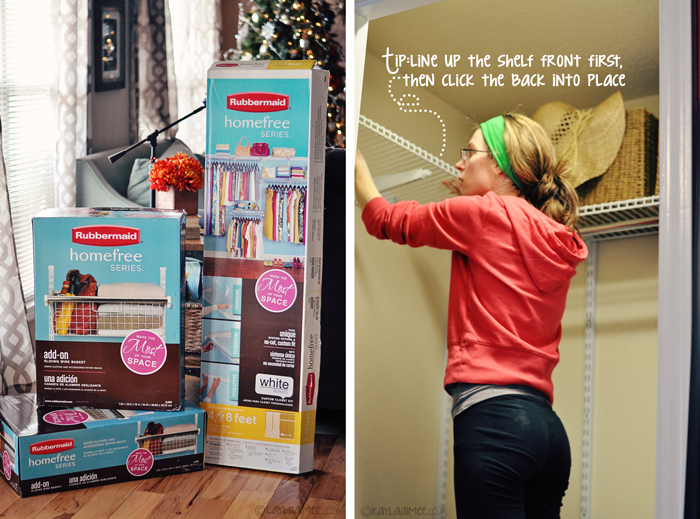
I bought the 4-8 foot set + two drawers and an extra set of small shelves. The whole process took me about four hours. An hour of that was spent demo-ing the old shelving, each of which was attached not into any studs but with fourteen drywall anchors. FOURTEEN. FOR EACH SHELF. I don’t even want to talk about it. The amount of patching that I had to do was ridiculous. Another hour was spent playing around with the configuration of the shelves because I am slightly neurotic and wanted to have the maximum amount of space to use as efficiently as possible. I mean, it came with configuration suggestions but I am a rebel like that.
Here is what it looked like when I was finished:
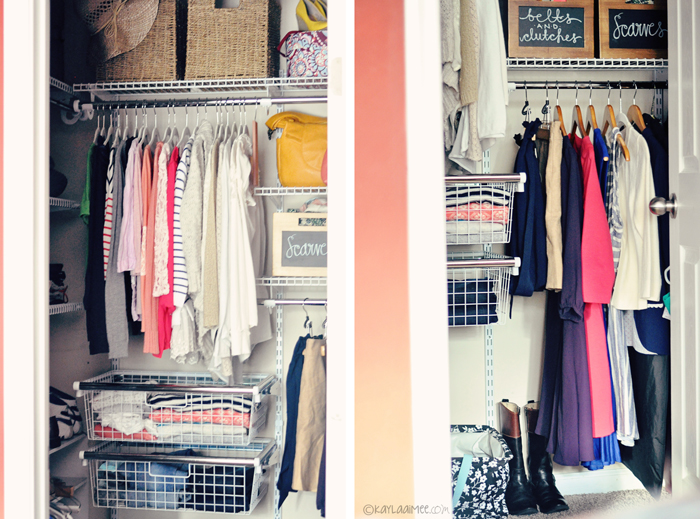
(The weird configuration of the closet door + our bedroom layout means getting a full picture of said closet was super difficult.)
I moved all of my accessories into bins and upgraded all of our hangers to slimmer versions in order to save space.
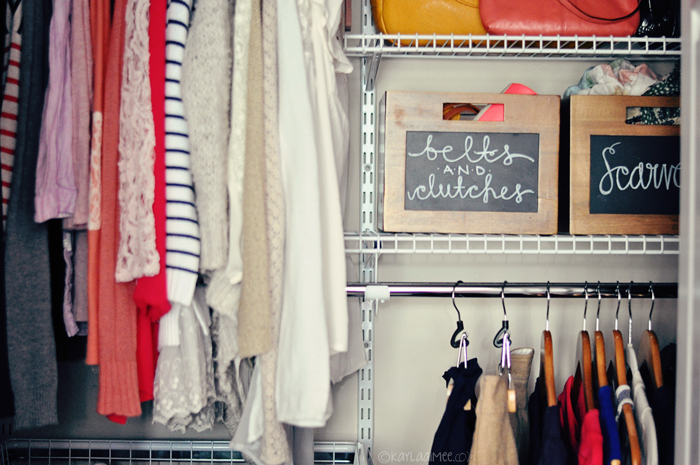
Outside of two dresser drawers that hold my underthings and pajamas, this is literally everything that I own for fall/winter/spring save for the underbed storage box with a few summer tops and shorts to be switched out seasonally.
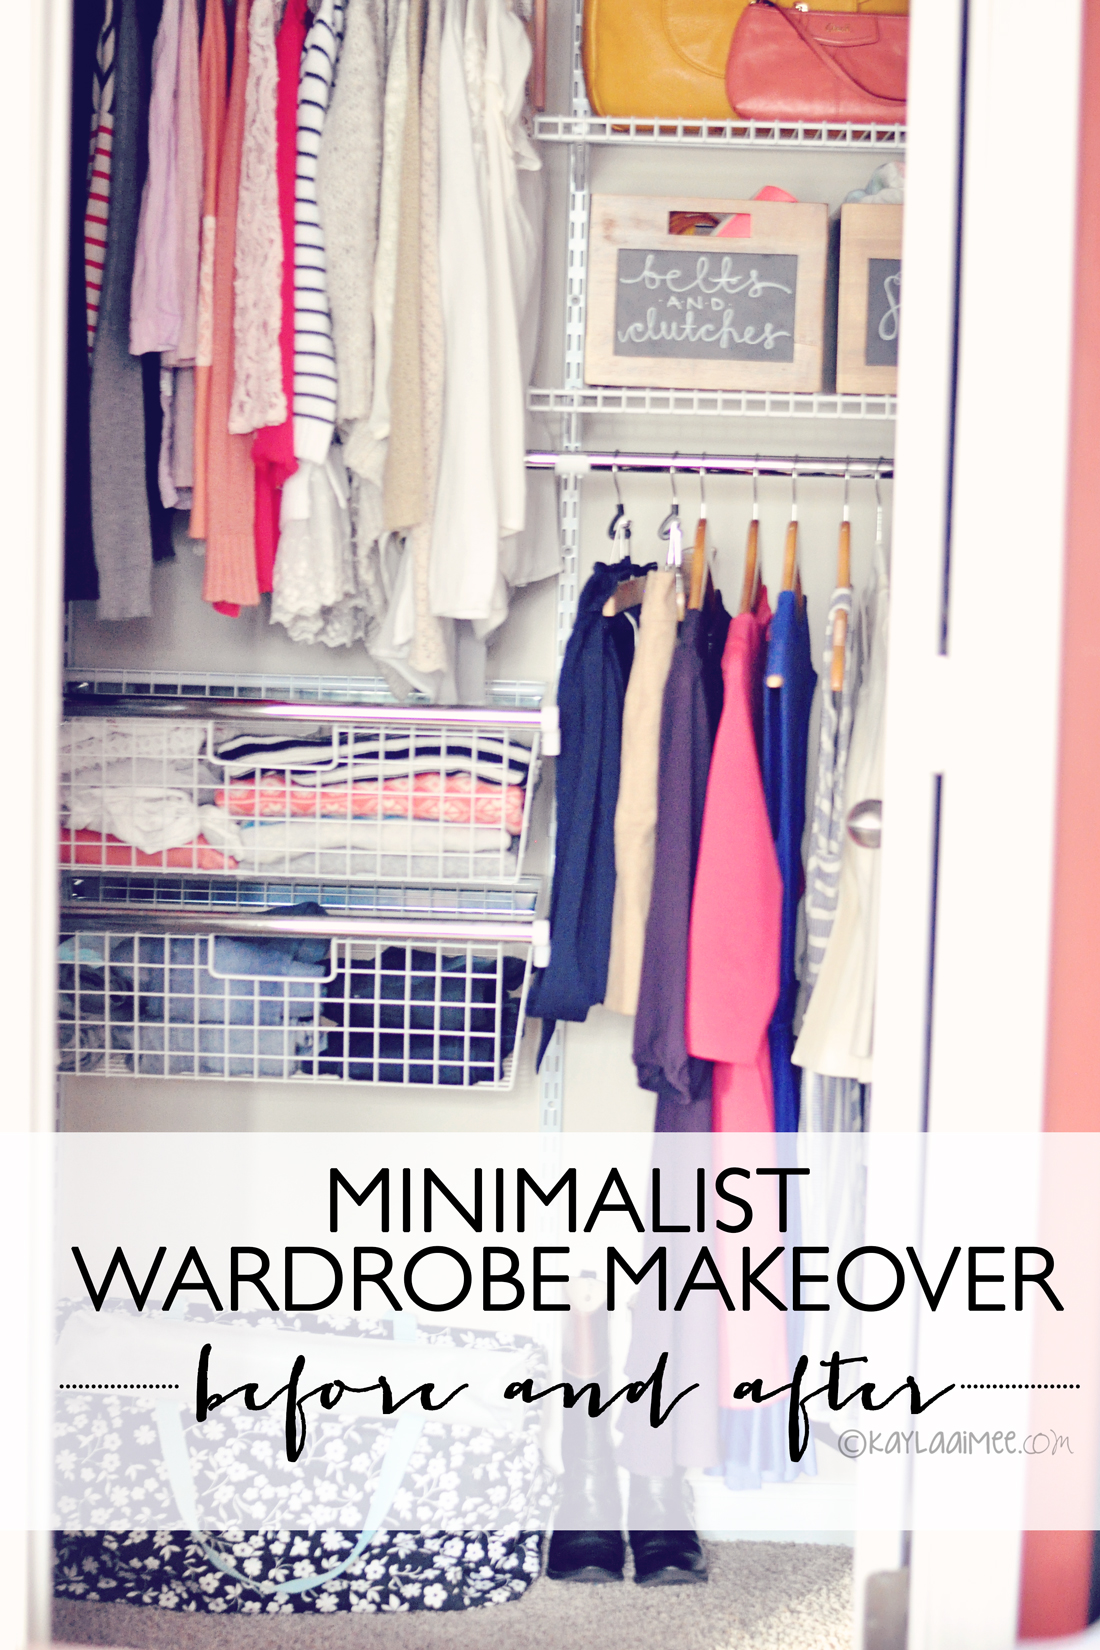
On the top rack is blouses and underneath that I have tee-shirts, sweaters, jeans and yoga pants in the drawers. To the right are purses, accessories, skirts, dressers and blazers. And on the top in baskets are hats and my wedding keepsakes (my veil, faux-fur stole, shoes and guest book are in there) as well as summer shoes.
All of J’s work clothes, pants, sweaters, shoes and workout clothes are on the left wall and it is so much easier to get to everything now. I think the system is really ideal for reach-in closets since it is so affordable and much more manageable than stacking random bookshelves on top of each other like we had been doing.
My goal was to have pieces that are very easy to mix and match. I paired down a bit more after taking these pictures (I might be going a little bit overboard with my need to purge all the things at the moment) so I ended up with 5 tee-shirt/sweatshirts, 5 sweaters, 2 skirts, 4 pairs of jeans, 6 dresses, 2 blazers and 12 tops. I would like to work in just a little bit more blues/greens on account of how apparently I went a little bit coral crazy but for the most part I love having so much less.
It’s not extremely minimalist but it has made a huge difference to pare down this much. Now I only own things that I really love instead of having stuff I never really wear take up room in my closet. And the best part about downsizing is that I have so much less laundry to do. Seriously, it’s kind of life-changing.
J’s casual shirts are on the back wall behind the door along with some storage bins of holiday decor because it’s so hard to get to that space that we try to keep things we don’t use often there. A few years ago when I was doing marketing for a real estate company I got to weigh in on floor plans and I was always rearranging stuff in the closets, like “put a door here to connect it to the laundry room!” “Add shoe shelves!” Every time I look at our closet I am like “WHO APPROVED THIS ON THE FLOOR PLAN? THIS IS TERRIBLE.”
So I am really pleased with the new layout. Also, in completing this project I learned that my husband owns way more shirts and shoes than me.

(I shopped at Lowe’s for the Rubbermaid HomeFree Closet System and put this configuration together for just under $200! I also picked up the woven baskets and wooden hangers there. You can also go online and play around with your configuration before shopping.)


