 We have about 4,839 empty cans of formula lying around our house. Okay, I’m guesstimating. But we have way too many since I’ve yet to drive them over to the recycling center. And since they are cans of Scarlette’s special prescription formula, I can’t justify throwing them out because they cost a fortune. How much? Trust me, you don’t want to know. You could pay rent with what we pay for formula each month. Did that make you feel a little queasy? Yeah, me too.
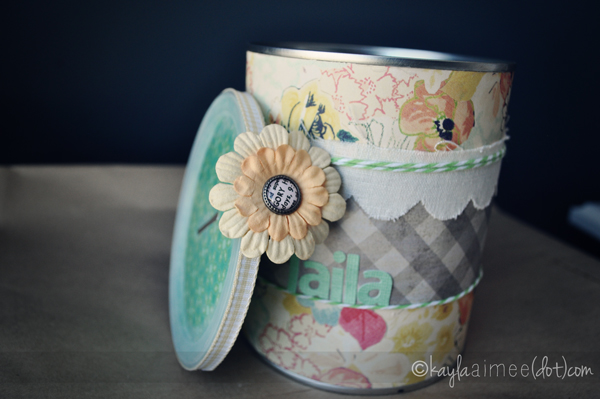
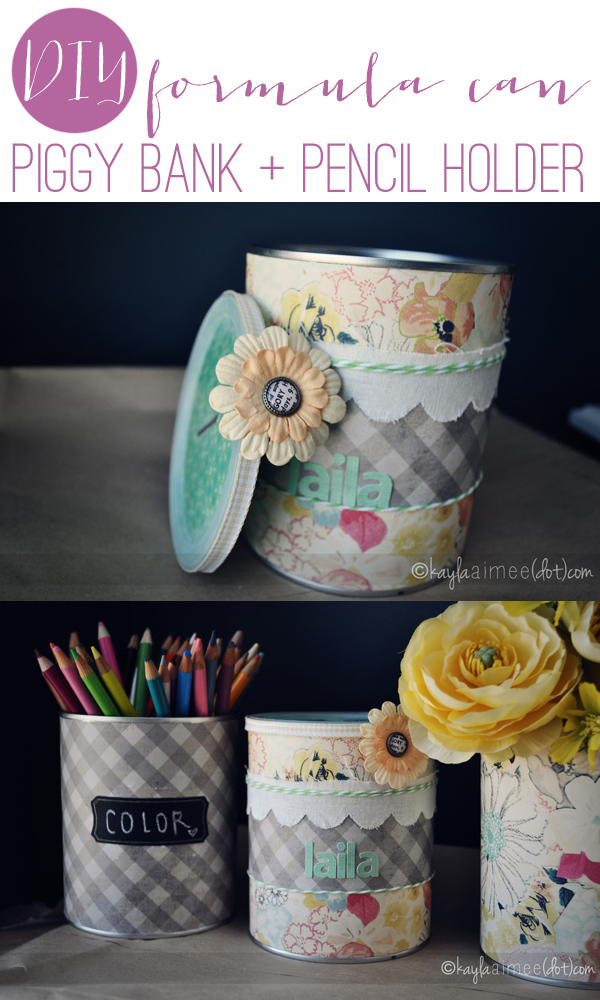
Studio Calico sent over their August kit for me to play with and I decided to make some piggy banks as Christmas gifts for my best friend’s little girls. The irony of creating piggy banks out of the world’s most expensive formula cans does not escape me.

And then because I still had 4,837 empty formula cans left, I made some pencil holders and a couple of little vases as well. Here is a quick tutorial on how to make them!
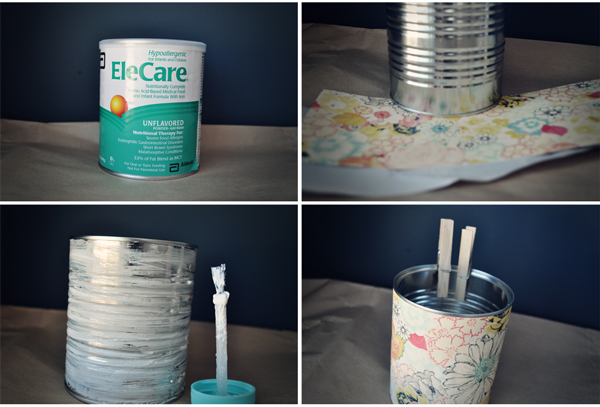
1) Find an empty formula can. A can of cheese balls would work too, not that I eat way to many cans of processed cheese balls or anything. Basically, any can that doesn’t have a sharp rim inside. Safety first, kiddos.
2) Tear off the packaging. Then measure the can and cut your patterned paper accordingly. I always cut a scrap piece of paper first to make sure that my measurements are correct before I mess up my pretty papers. This is because I am terrible at measuring.
3) Brush a layer of glue onto the can. I used Martha Stewart Glitter Glue because that stuff sticks really well and I like the brush applicator. That Martha, so crafty.
4) Wrap your paper slowly around the can, smoothing as you go to make sure there are no air bubbles. I used clothespins to hold the paper in place while it dried.
5) Then just add your embellishments! I used the chalkboard labels, stickers, baker’s twine and scalloped trim that came in the kit. Chalkboard labels = ♥ ♥ ♥. I may have gone chalkboard label crazy in the laundry room, y’all.
To create the piggy bank, I traced the lid onto some paper and then glued the paper to the inside of the lid. Since my lid was transparent, it’s still cute and that way the paper won’t curl up. I used Terrifically Tacky Tape to adhere ribbon to the outside rim. There is nothing better for adhering ribbon, IMO. Then I cut a hole in the center using an exacto knife. That’s not true. My exacto knife is buried somewhere in the basement so I used a razor blade. Don’t tell Jeff.
(If you liked this post, I would love for you to pin it to share with others! Thanks!)


