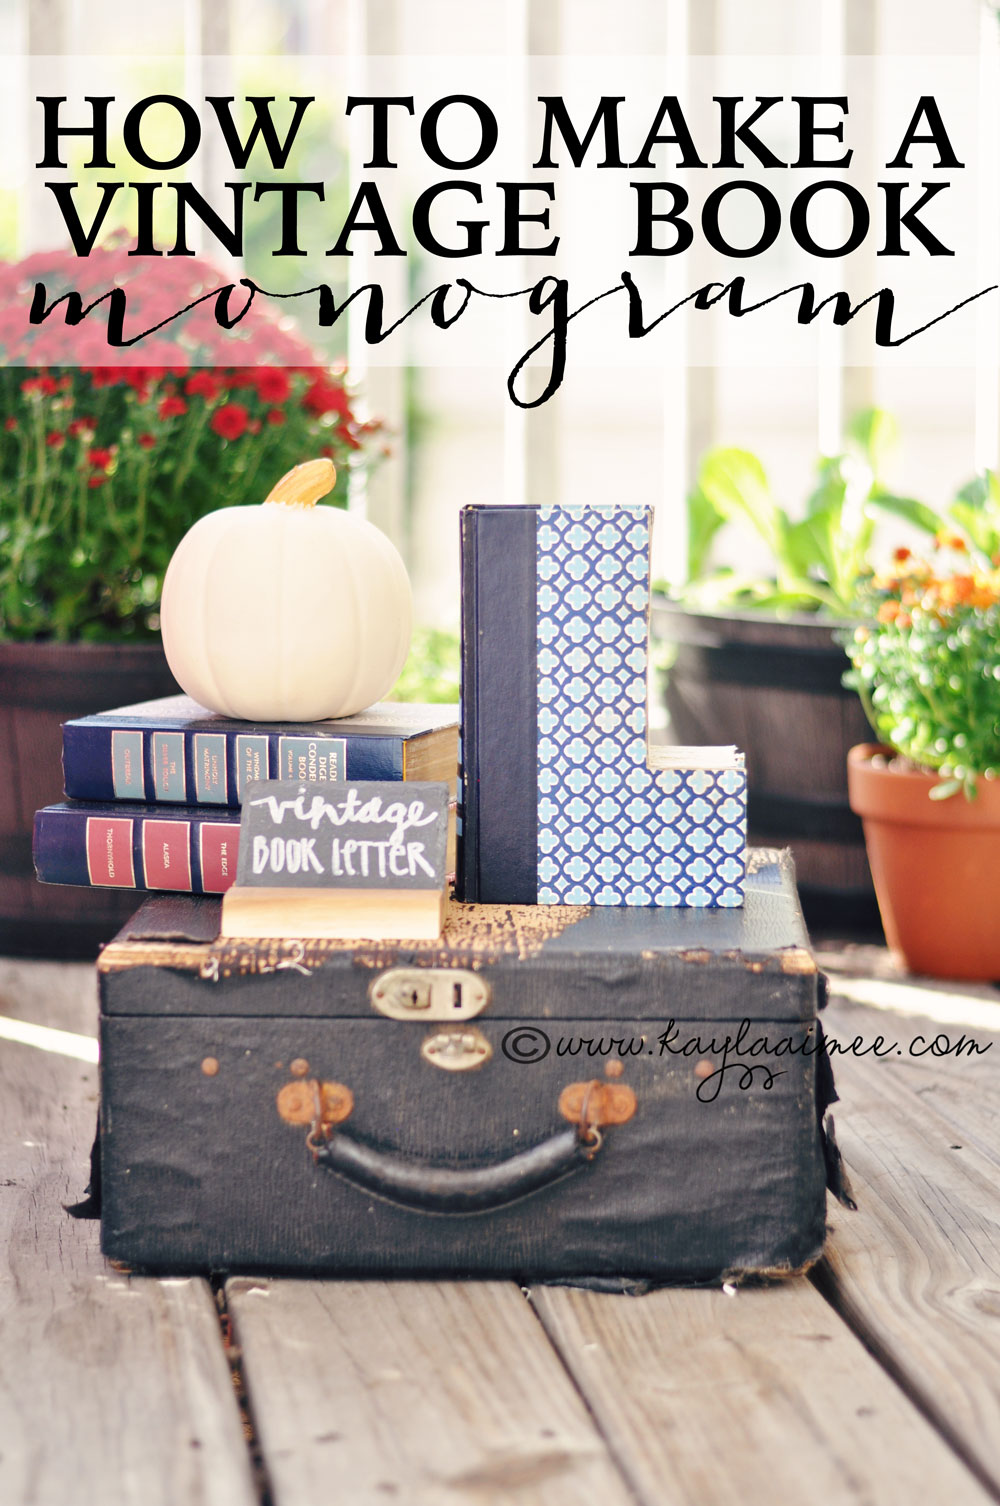
I first saw a version of these vintage book letters at a little boutique near my house. You know how sometimes you see a crafty thing and think to yourself “Self, I could totally make that” but then you never actually make the thing? This time I was determined to follow through, mostly because I have boxes upon boxes of vintage Reader’s Digest books that belonged to my grandmother and also because my friend Laura Anne’s birthday is this week and I knew she would really love one.
I googled “How To Make Vintage Book Monogram Letters” and discovered that they were made using a jigsaw. Which was a slight problem for me on account of how I don’t actually have a jigsaw. But I do have a Dremel Micro 8050, because Dremel sent me one to try out. I had planned on using to it do some glass etching but when I saw the book letters I thought maybe I could use it for that instead.
It totally worked and I think these would make really cute and easy DIY Christmas gifts so here is how I did it!
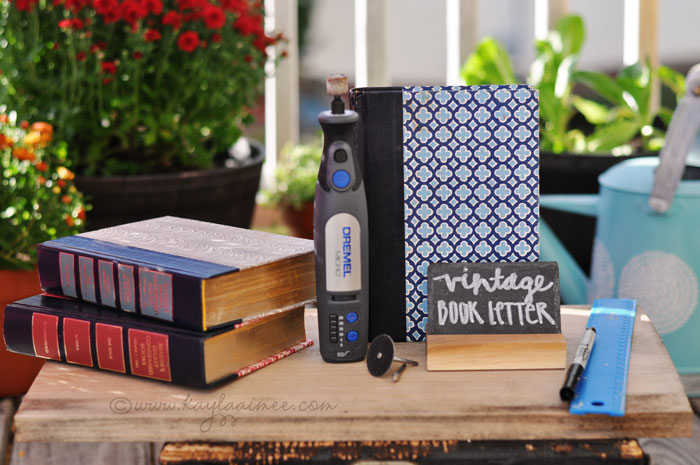
The supplies:
I used a vintage Reader’s Digest volume. You’ll also need a razor blade, ruler, pen, a Dremel Micro 8050, and three of the included attachments: high speed cutter, cutting wheel and sanding disc.
I worked outside on a piece of scrap wood, because of the dust and also because my dad always insist that I saw on scrap wood.
First I marked off the lines for the letter using a ruler and a sharpie. For more intricate letters you can print out the letter and then trace it onto the book but since I was just doing the letter L I freehanded it.
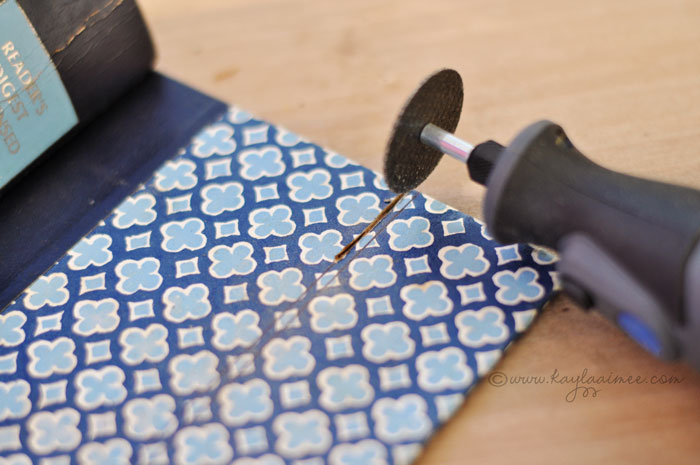
Then I cut out the cover using the cutting wheel, set on speed 20. It took a few passes to make the cut.
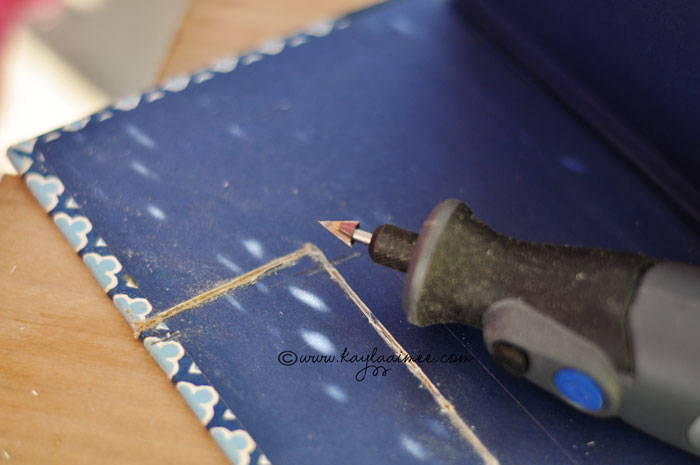
Since I didn’t want to over cut my lines, I switched to the high speed cutter to cut out the inner corner so that it would be a nice, clean edge. It takes a little longer so I wouldn’t use this for the full cut but it worked great for getting a 90 degree angle.
Next I used a razor blade to cut out the inner pages. Honestly, this part took the longest. I tried using the Dremel for it but the paper was so flimsy that it was hard to get a straight line so I just worked my way through with a box cutter.
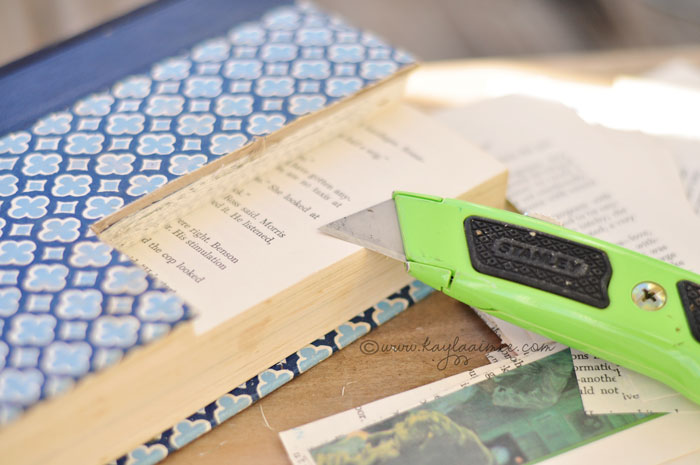
Finally I used the sanding disc set to the lowest speed to round off the corners and smooth the edges of the book. I forgot to take a picture of this step because one of the neighbor kids came to the door selling stuff for their school fundraiser and I got distracted by shiny pictures of cookie dough and wrapping paper.
Then I used Krylon Sealant Spray to seal the edges of the book! It came out so cute. The whole project took about thirty minutes from start to finish!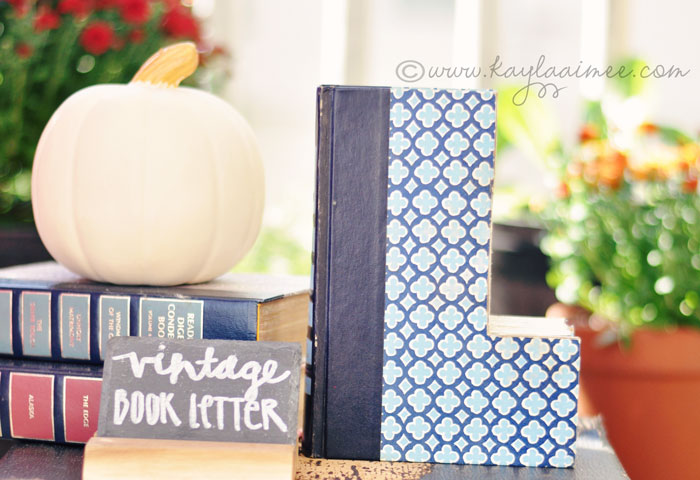
Honestly, the only reason I agreed to review the Dremel Micro 8050 was because my husband wanted it and I figured that I would have some fun etching some glass vases or something and then pass it along but y’all, I really love it.
It is super handy since it is cordless and does a ton of stuff. It can cut, carve, engrave, sand, grind, sharpen, clean and polish and it has a little light that illuminates what you are doing so that you can see intricate work. I’ve been practicing my engraving with it. It is only $89 at Home Depot and online at Amazon and it is compatible with all the Dremel rotary accessories so you can also use it with drill bits and such, which makes it a great gift idea.
Want to learn how you can win one?
Dremel wants to celebrate its fans’ brilliant projects, work and ideas! Now through October 12, share, tweet or post photos on Facebook, Twitter and Instagram that depict your brilliant ideas using the hashtag #MyBrilliantIdeaSweeps for the chance to win weekly prizes, including free tools and handmade gifts, or the grand prize: a custom-engraved Honda scooter and a Micro 8050. Visit www.facebook.com/dremel for rules and to learn more.
(Disclosure: I was selected for this opportunity as a member of Clever Girls Collective and the content and opinions expressed here are all my own.)


